

Mounting Ribs to the Bottom Board
Now where was I....

Okay, time to clear my plate, and fire off some posts this month to catch us up to the present… I’ve been busy obsessing over a bedroom renovation, installing recessed lighting, some mouldings. Got a little bit too into mouldings, in fact my next side project to avoid doing the boat will be re-casing some pine windows in a wider trim.
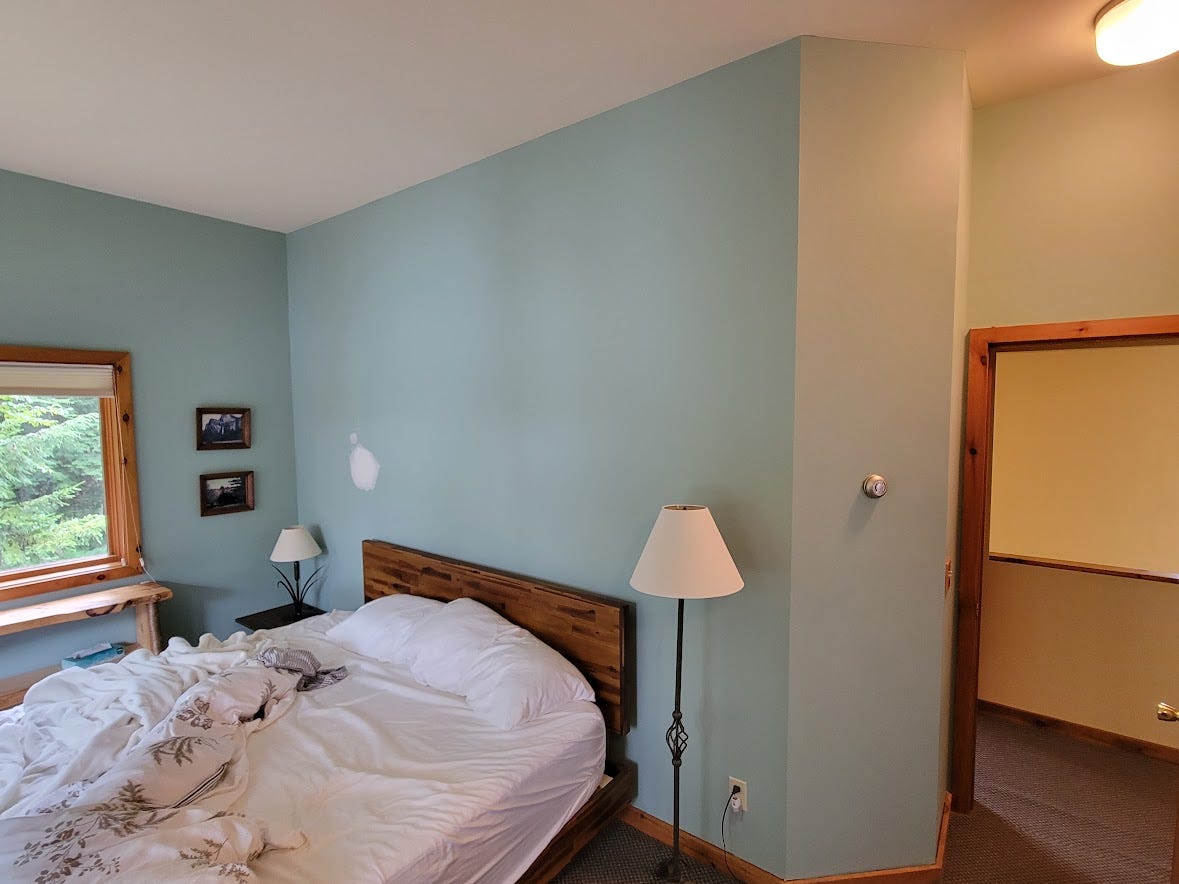

Luckily I’m so fed up with that stuff at the moment that I want to sit on my butt for awhile. Improved my drywall skills, rescrewed and filled over 220 screw pops, and retaped over 30 feet of cracked vaulted ceiling seams. The walls look alright, at least until spring when the walls move again and start popping previously unpopped screws…. anyways, might as well blog.
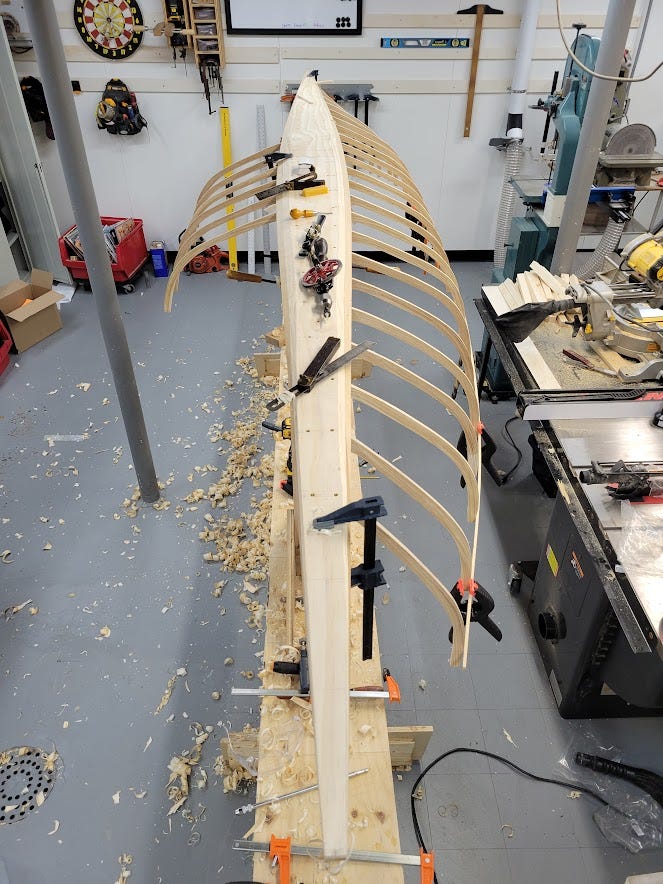
So where were we? We left off with a 14ft bottom board, the floor upon which the ribs of the boat will be screwed to.
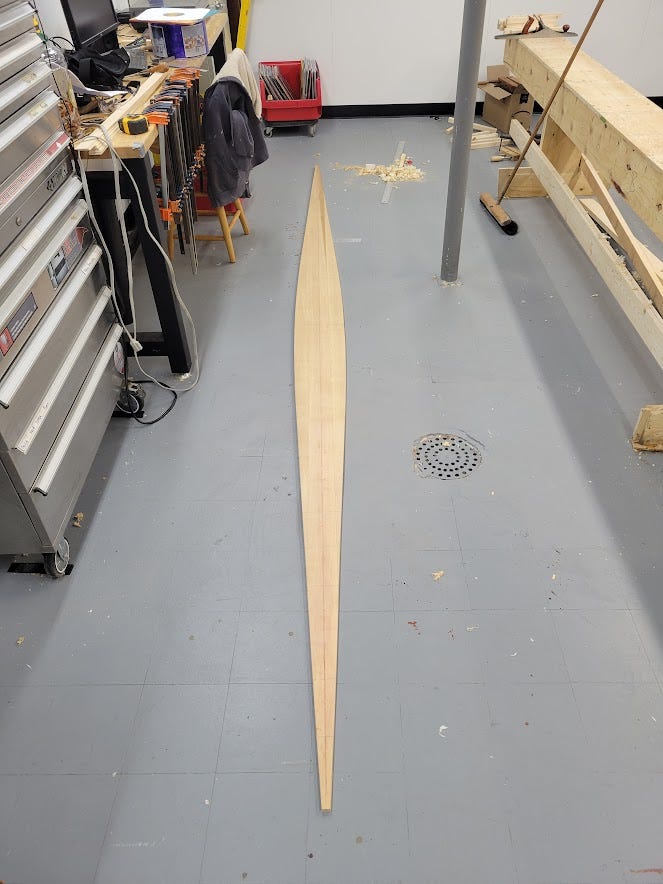

The bottom board is then mounted to a strongback beam which has been shaved to gradually bend the board down 1” at each end, which will give the boat some rocker, allowing the boat to turn more easily. Once the ribs and strips are installed, the bottom will retain this form on its own.
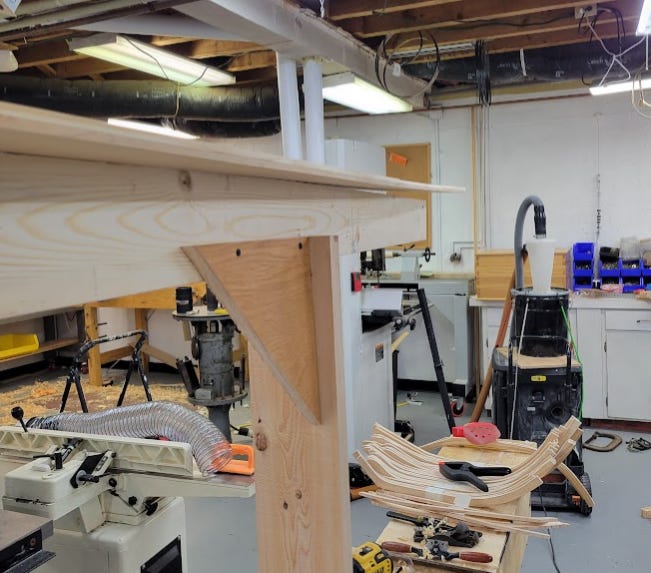

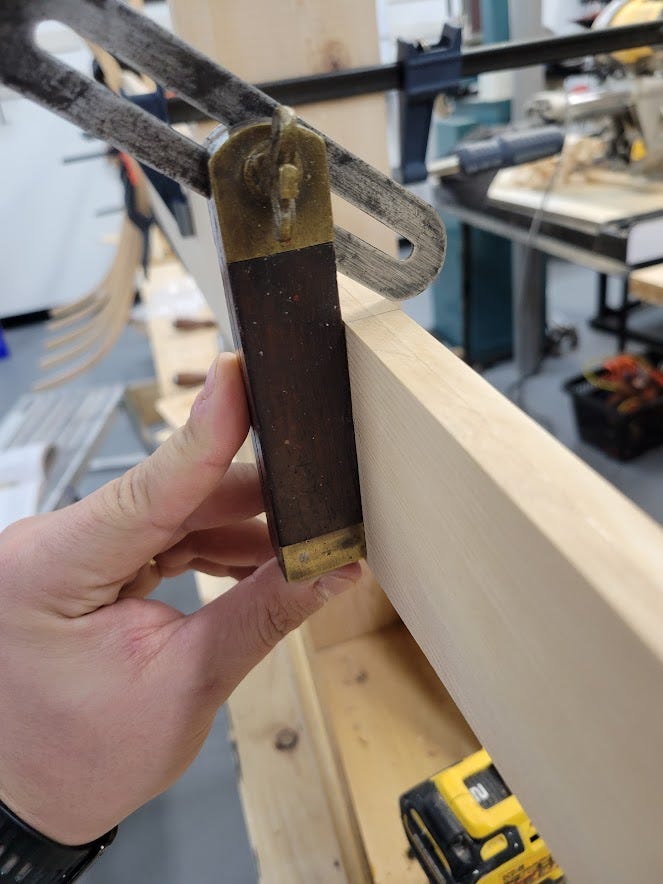
So now on to the lining out the rib stations, shaving a bevel angle on the edge of the bottom board, and screwing the ribs on one by one, starting from the center, every 6 inches.
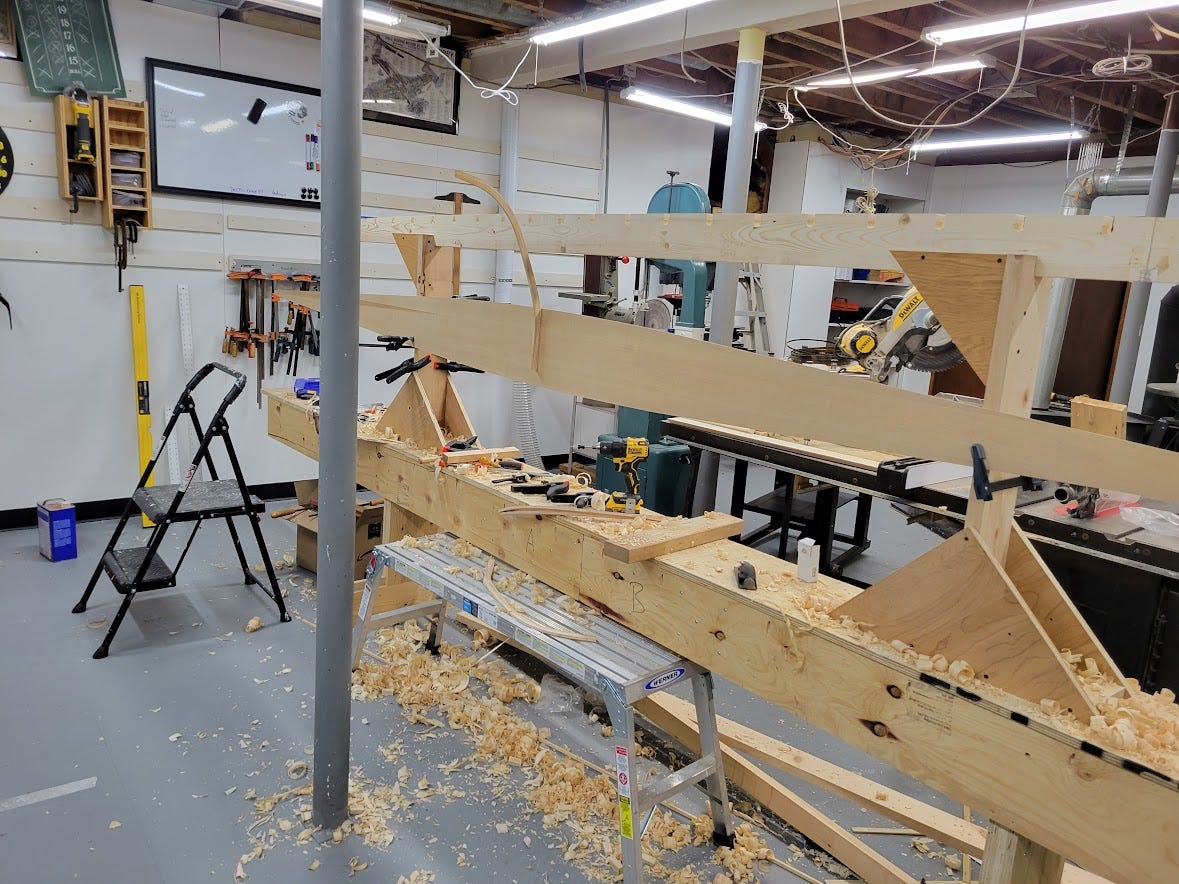
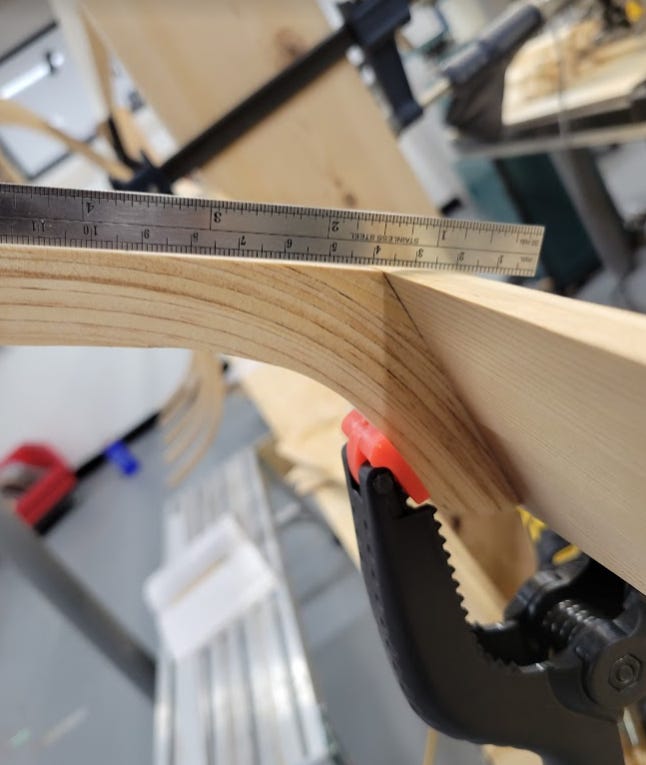
Each rib has a natural bevel the board will have to continue:
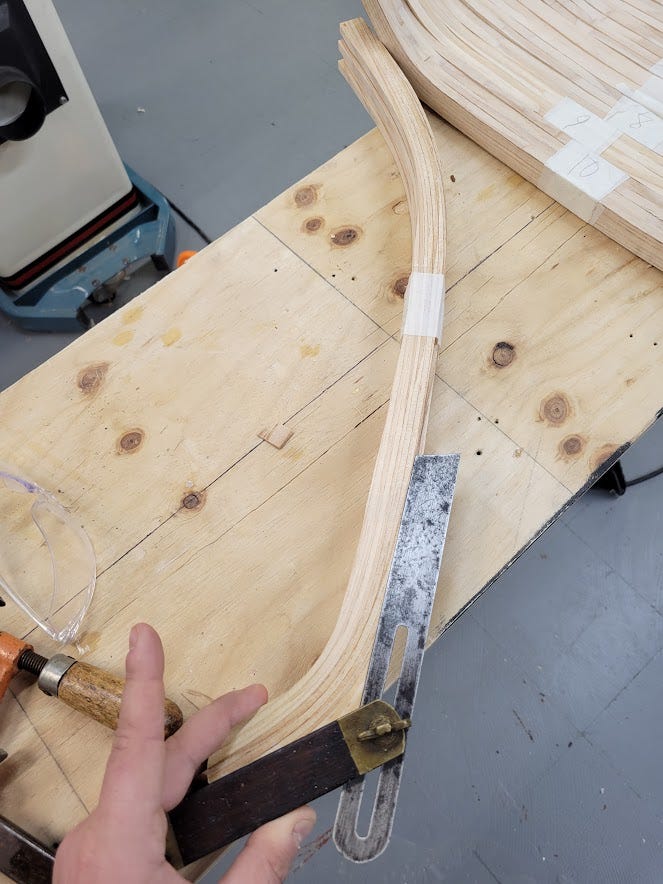
Shaving down to the correct angle, and connecting the dots from one angle to the next, 6 inches away. It’s easier than it sounds.

It was about this time when our wad of bubblegum showed up.

Hey Dad, maybe putdown the spokeshave and figure out how to properly swaddle a baby!

Anyways, here’s a bit of footage of the process, looking back at it it is really bad, but I was pretty sleep deprived so we’ll just go with that excuse…. See you next time!
Rewatching this is rough, I need to do stuff in a tight 5, or not film at all, but at least you can see me futzing along. Next we’ll start screwing on strips!