
Designing and Fitting the Gunnels
Designing and Fitting the Gunnels

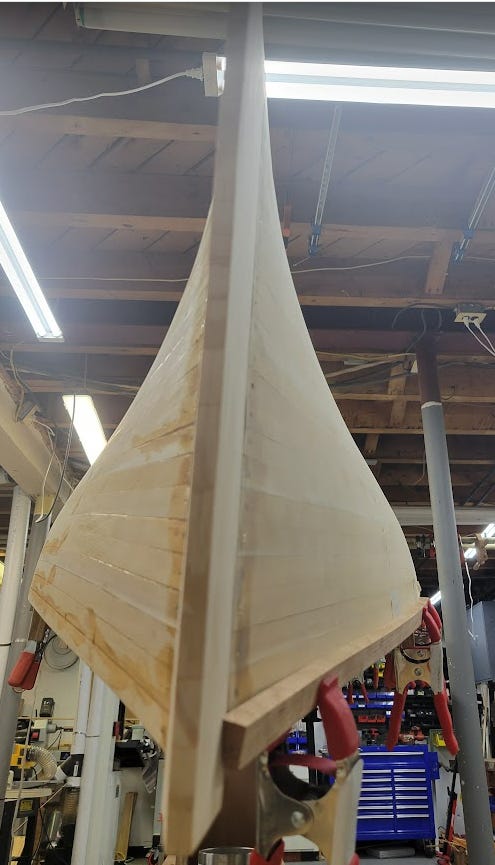
So since last post I’ve officially gotten to the point where I’m epoxying the interior/exterior of the boat for rigidity so I can take the boat off the strong back and to a more maneuverable position…. this added rigidity will be helpful when it comes time to bend/clamp/screw the gunnels (gunwales) to the boat.
We are, of course, talking about the strip of wood on the upper edge of the boat.
The gunnels do a lot of work, they take the beating for the top edge of the boat, whether it is loading/unloading on a car, protecting the sides from the dock, etc. The delicate 3/16” cedar strip edge needs structural reinforcement.
They are also what the oarlocks are screwed to. So all propulsive force from cranking on the oars, braking, hitting rocks etc while the oars are still in place (not good!) all of that force will be transferred to the entire boat through these gunnels.
No pressure!
So it goes without saying we’ll want to go with a good hardwood. I’m using cherry. quartersawn, straight grained cherry that will bend well, and less inclined to split during the bending process.
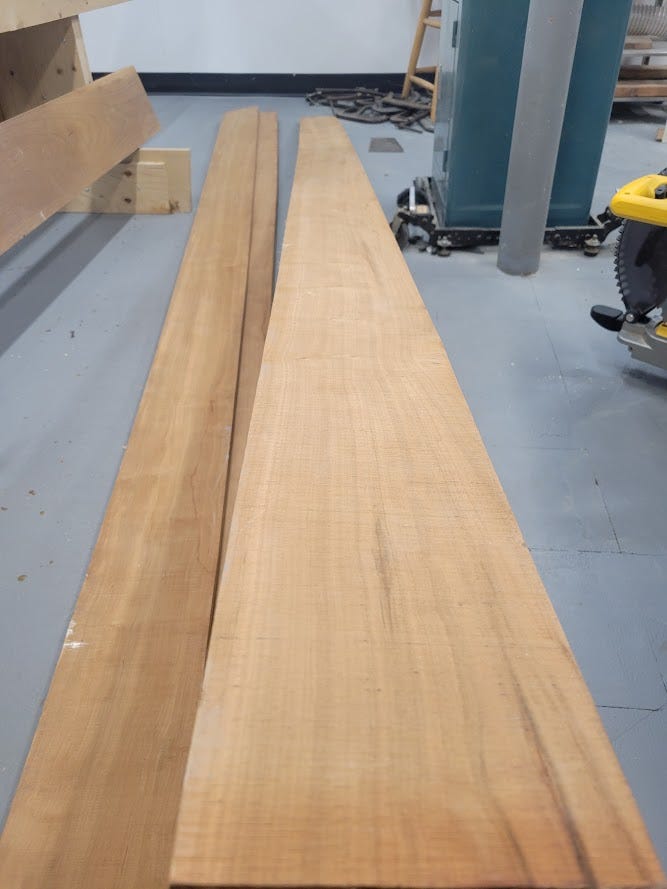
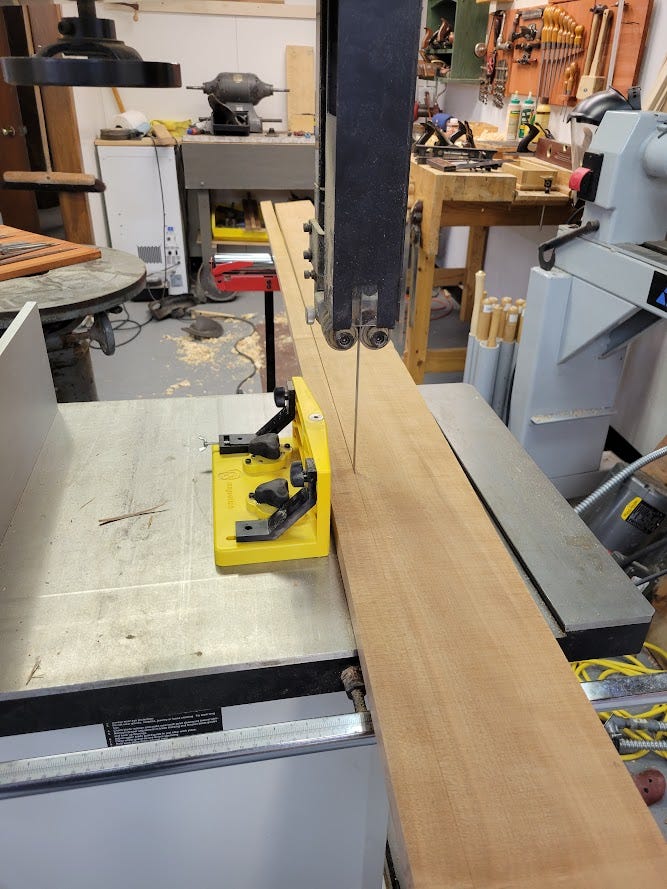
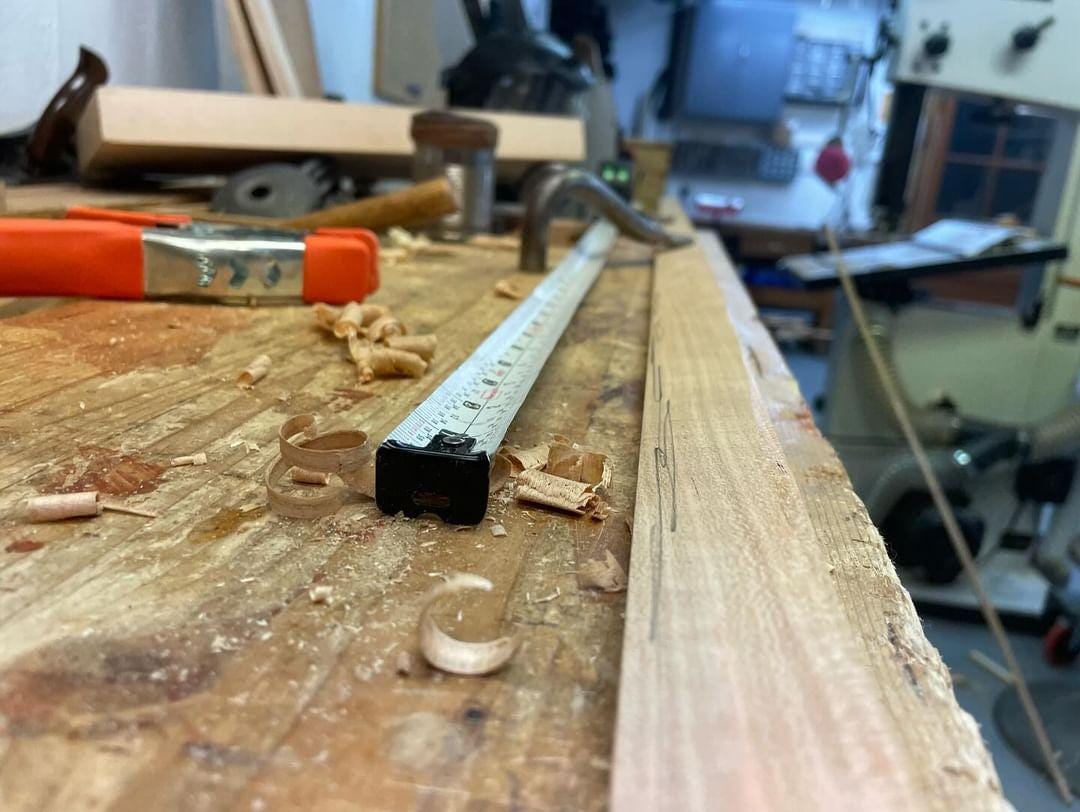
I’ll rip these rough milled boards down to a little over 1-1/4” wide on the bandsaw to start. But first, I’ll clean up an edge to register against the fence. These boards are 10ft long, I would love a bigger bench.

Using a resaw fence, I can cut the wood to width without having to have a perfectly straight line along all 10ft of board. I actually want to take advantage of the board’s crook, since there will be a sharp bend up to the stem at each end. No use in trying to make a straight board, since I will be telling the wood where to go every 6 inches of the way.

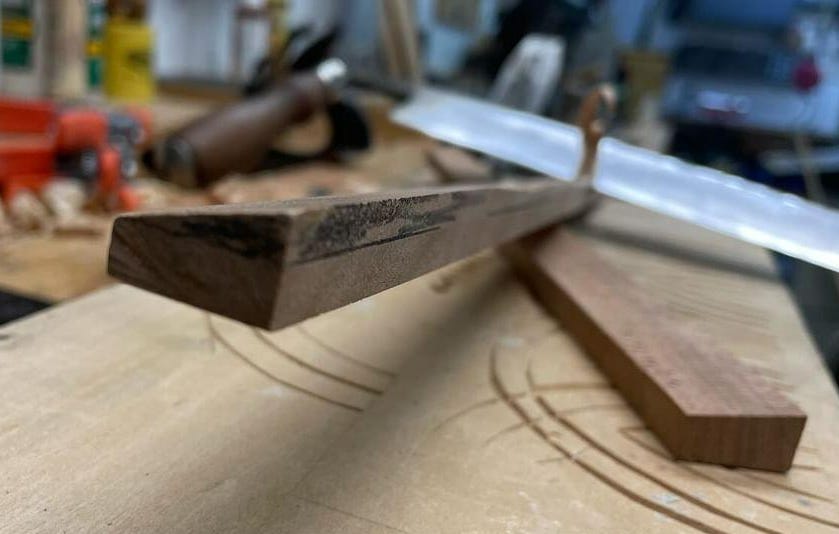
These strips will be screwed through the cedar strips into each rib of the boat from front to back. There are a few different gunnel styles I could choose, from a simple rectangular cross section, to a tapered cross section so that the exterior of the gunnel, particularly where the oarlocks are fastened, are straight up and down. I chose the tapered cross section, which I think will ultimately look better, if I can stick the landing….

So to recap: We have a roughly 15ft long gunnel, which needs most of its strength at the center of the boat, where the boat is widest, unsupported, and where it’s subjected to the forces of rowing. At each end of the boat, the gunnel will be supported by the decks, which does the heavy lifting of keeping the boat structurally sound at the ends.
Wait, the gunnels don’t do as much work at the ends? Sounds like a weight savings opportunity! Several boat builders taper the size of their gunnels towards the ends, and mine will be no different. I’ve been advised to start my taper 4ft from the ends. This is what I devised:

This involves me tracing taper lines on 2 sides, then removing a whole lot of stock. Lots of angles, lots of lines, almost nothing is 90 degrees, using a power saw (table saw or bandsaw) is just about impossible.
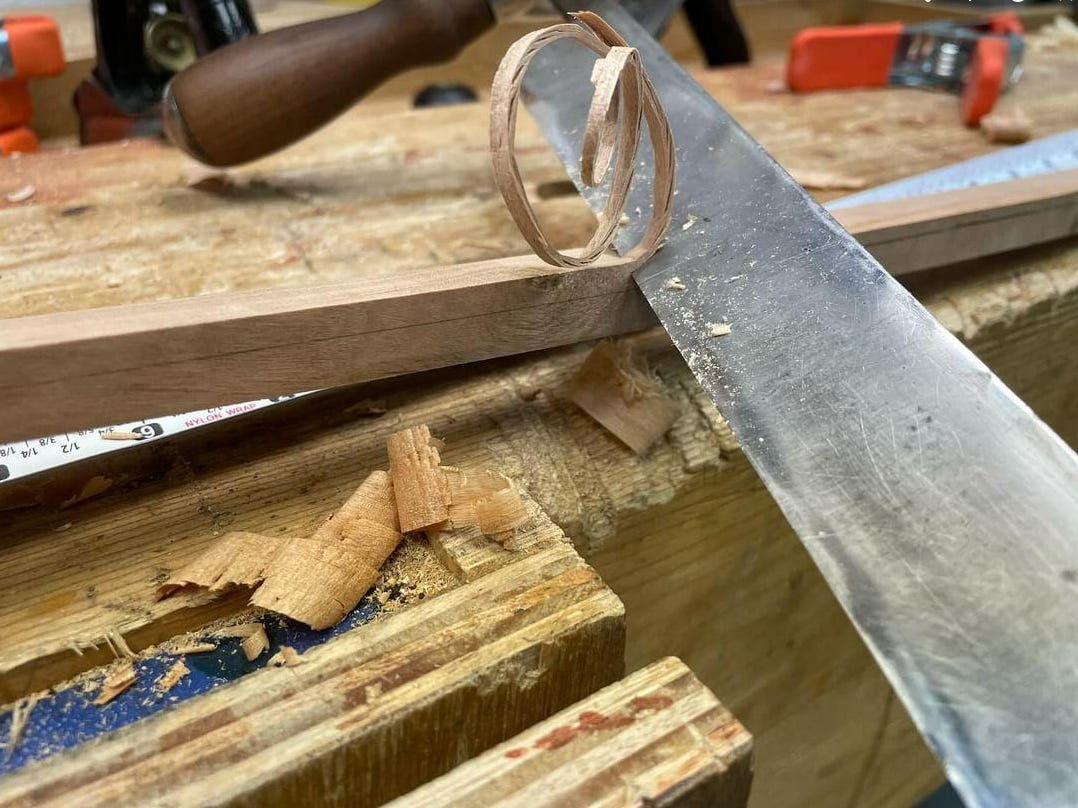
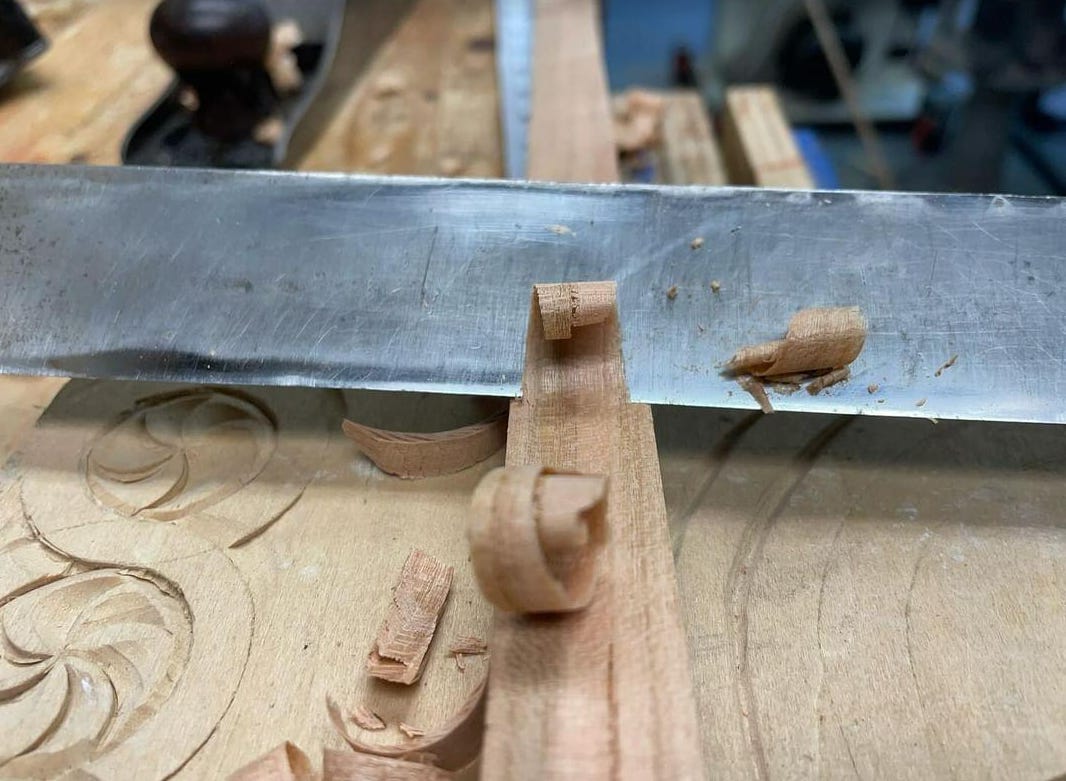
There comes a point in time in woodworking where you realize you need to go a little Amish in order to get to where you need to go. I’m sure there’s some very refined way you could use a tablesaw or router to perform these tapers, but the fastest and easiest way is with that trusty draw knife…. You know you’re lost in the sauce when you realize you need a shave horse.

These old tools don’t exist because they didn’t have a table saw yet. They exist because they work, and are the best solution for their task. Unfortunately, I don’t have one, so I made due with holdfasts and wedging the wood so I could get at it with the drawknife.

You can remove a lot of material in a hurry!
So to recap, I have one edge I need to keep intact, and one edge I need to reduce to the pencil line. The pic above shows me removing a corner down to my line.
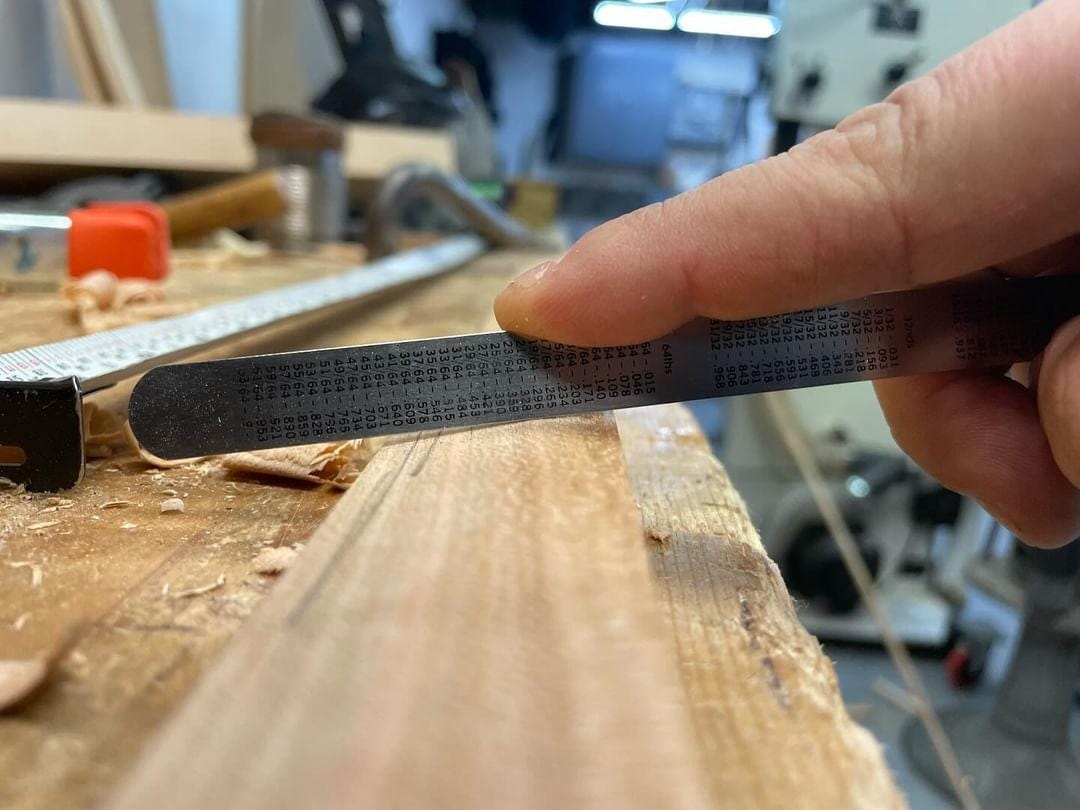
Luckily the blade is more the wide enough to remove material from the center, though lighter cuts and more care is required.
Finally, a handplane can be used to refine the surface, removing humps along and across the gunnel.
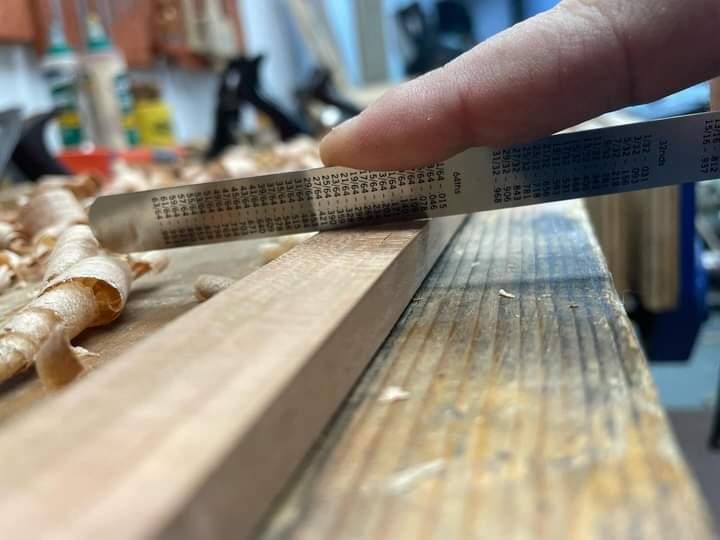
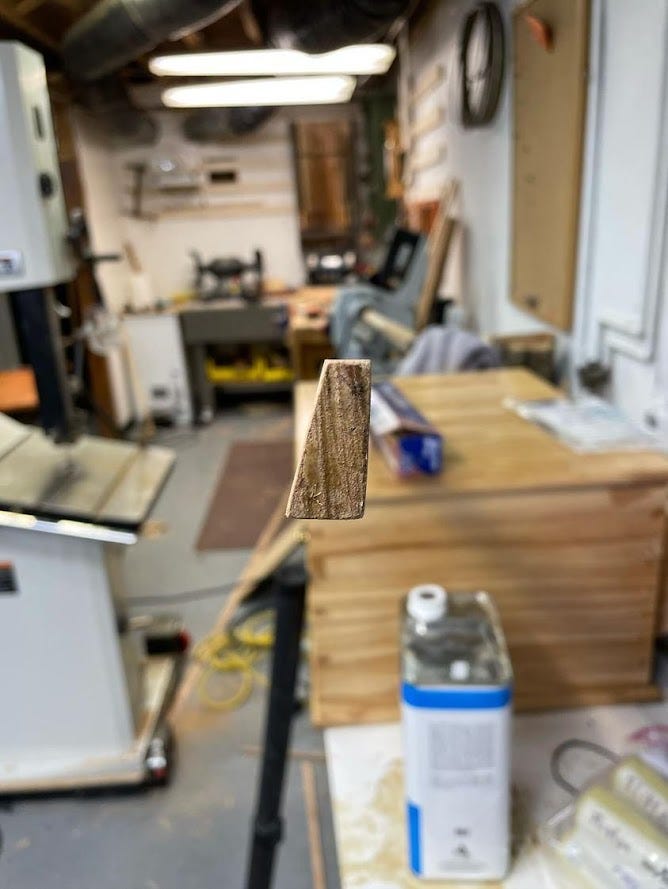
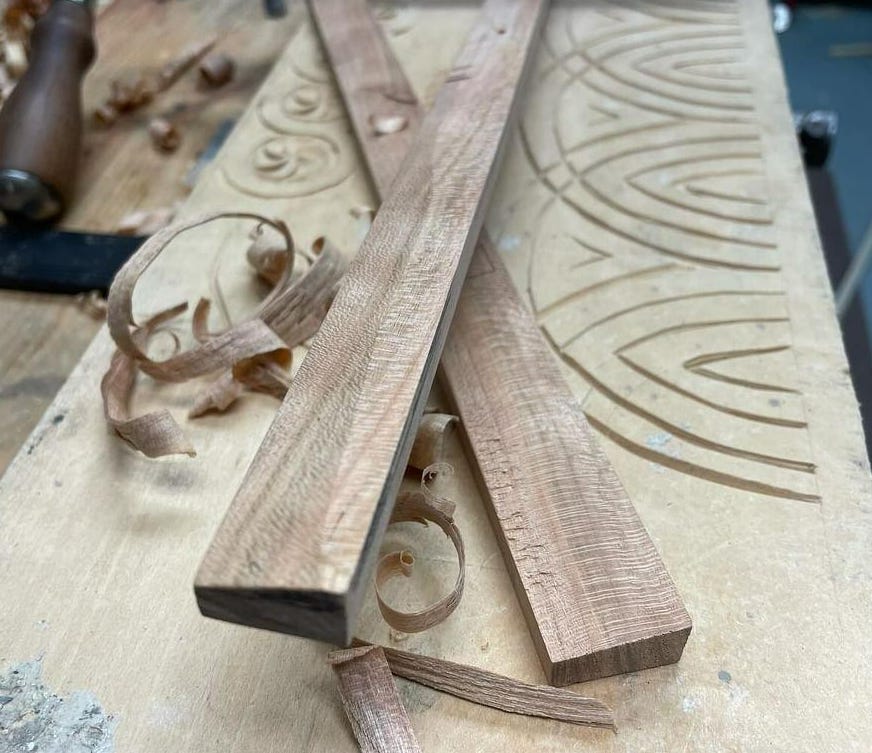
Because the taper is so gradual, a digital camera distorts the gunnel and more or less hides the full effect, unless you were sighting down it with the naked eye. You had to be there!
But, this exercise was a success, as you can see below. Now I just have to do it another 3 times:
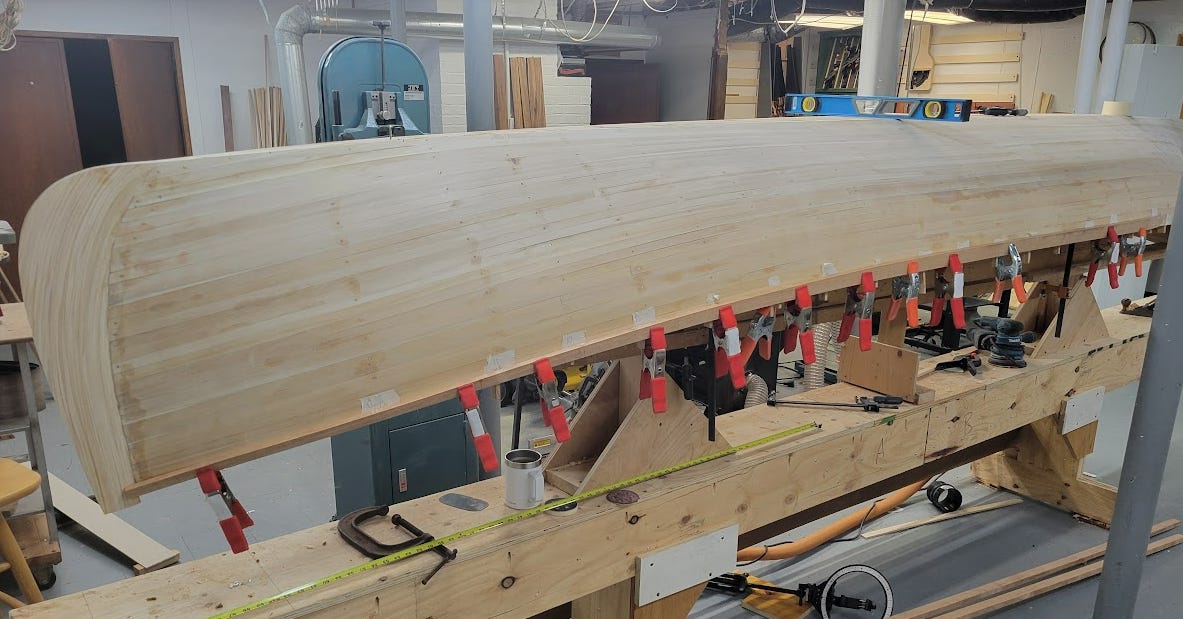
The taper really helps with bending the wood along the sheerline without cracking or using too much force, but it is distorting the hull a little bit. At this point I decided to epoxy and paint the hull, as this will stiffen and protect the cedar, and allow me to deflect the gunnel to the hull, rather than the hull to the gunnel. It’s going to require a whole lot of C clamps. Hopefully more clamps than words.
I also am going to try to use the tablesaw to cut a 11 degree mitre to save the scarf joint, so maybe I can use this piece after all. Just what I get for talking a big game about not needing machinery ;-) We’ll see how it goes!
Until next time, thanks for reading!