
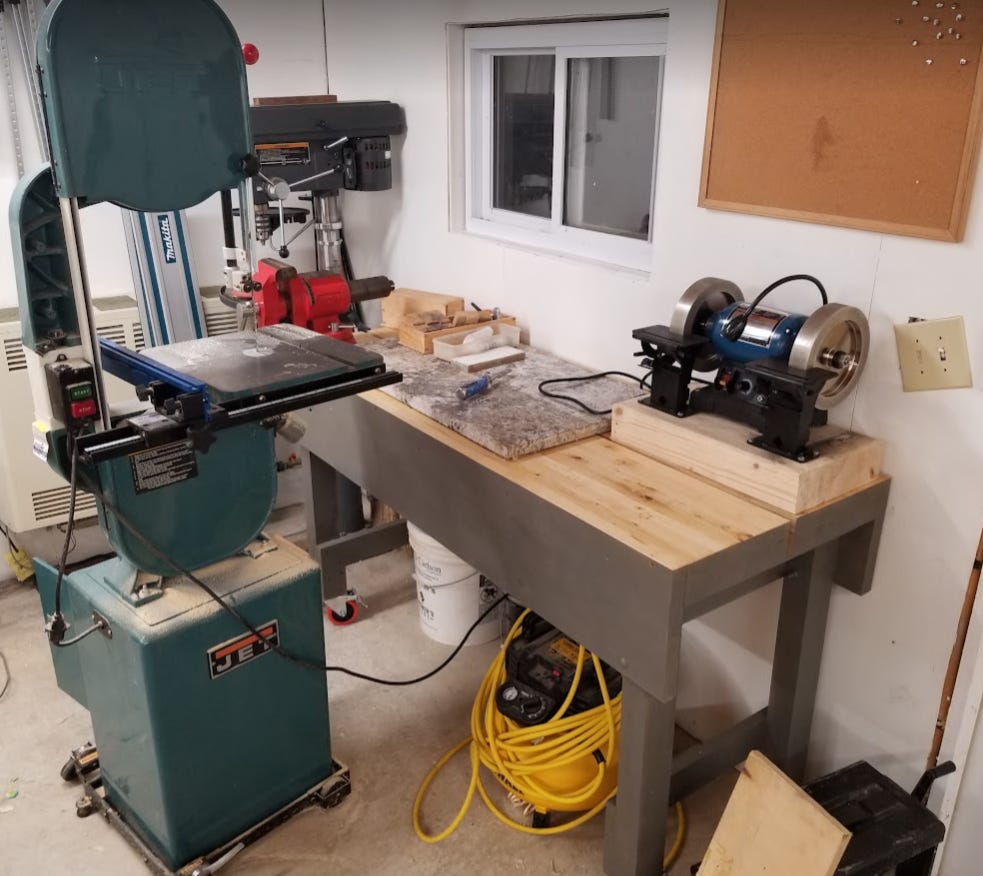
A Starter Setup for Sharpening Handtools
A Starter Setup for Sharpening Handtools
I'm procrastinating talking about my project. Deal with it, okay?

This was meant to be an email to my friend Allen, I’m giving him a handplane so that he’ll spend the money on a decent sharpening set up instead. No, I’m not posting about this to make me look like a great guy, it’s just in the process of drafting this email, I got annoyed, and hopped up on my soapbox. They say to write about what you know. They also say, when you have writer’s block, to write about what annoys you. I’m going with the latter.
This is basically the start up advice I’d give a beginner, without boring them too horribly.
Dear Allen,
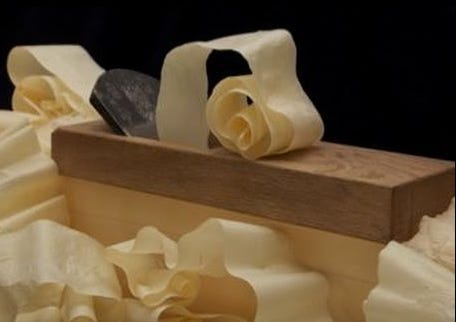
The difference between you using your planes and chisels (and enjoying them) and these tools collecting dust on the bench is whether or not they're sharp. I think the most frustrating thing for me was realizing that I would have no clue if my plane was sharp or not, and would have no way of realizing that my plane had crossed the "dull" line.
The difference is real. You'll range from cussing and wondering how these morons ever did anything before powertools, to grinning like an idiot when whispy fluffy shavings explode off your freshly sharpened blade while your oiled plane sole skates effortlessly across the wood.
We're trying to keep you somewhere in between, where you handplane is a tool used because it's the most effective and efficient tool for the job, not because it's some archaic novelty. It's only once you've been struggling with the plane for awhile that you realize you should probably sharpen up, and then it's a debate with yourself about how much of a pain in the ass will it be to stop what you're doing to resharpen, or whether you can just hurry up and get the job done with a dull blade.
The goal is to set you up with something that gets to back to sharp enough quickly, and doesn't impede your workflow. I'm aware that sharpening supplies isn't a sexy thing to buy(it gets expensive fast), and reading woodworking forums about sharpening is about the most boring pointless waste of electrons out there. I can't stress how boring talking about sharpening is, and how complicated people on the internet like to make it out to be.
I made a short list of some supplies that will last you possibly the rest of your life and keeps it simple, and most importantly, fast. I'm giving you this plane so that you will spend the money on sharpening tools, because those will dictate whether or not you actually use the plane, and get more into hand tools in the future. It's not hard to learn to be skilled with a sharp tool. No amount of talent makes you skilled with a dull tool.
Sharpening isn't some mystical knowledge one acquires through years of practice, it's pretty much just polishing 2 flat surfaces that intersect with each other at some angel. Sometimes you need to remove more material to do so, like if you drop a chisel on the floor. Sometimes it's just a matter of repolishing the point at which the two surfaces meet.
This list of stuff will hopefully allow you to do both is a short amount of time, otherwise, you'll do what I would do, and put the plane up on the shelf for another day. Jesus, look at how much word salad I’ve generated so far.
Okay here we go:
The tools
Honing Guide - holds your blade at the desired angle
Diamond Plates - coarse grits to hone your blade fast and get you to where you can then use :
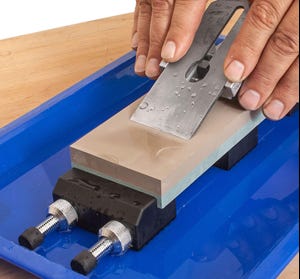
A combination water stone to refine the edge.
Honing Guide
So you need to grind the blade at a consistent fixed angle to make it sharp. Sure, you could freehand it, but we’re starting off, we want something that is quick, repeatable and won’t make you want to avoid the process completely.
No, the angle doesn’t have to be exact. 25 and 30 degree bevels are what is commonly used. 32 degrees is fine! Give me a blade that’s at 35 degrees and I probably cant feel the difference planing. Stop overthinking it! One day you can get to the point where you want a 35 degree chisel for chopping mortises because the edge lasts longer. This is today.

All sorts of price points for a guide. I had the top left for awhile, sold by some other company, probably made in the same factory, was a piece of shit. Don’t buy that one. I like Veritas, they have a guide for ~$47. I don’t know what makes it twice as good as the red one in the picture above, (veritas can sharpen a 1/8” chisel) but it is (probably) not worth overthinking it too much. You can (and should) learn to freehand sharpen without a guide. One day.
Diamond Plates
I feel like these just started to get really cheap (maybe affordable is a better word). These plates should last you your whole life, or at least 5-10 years if you’re like me. They stay flat, and the smaller grit plates will remove a lot of metal fairly quickly. You’ll be using these to remove the bulk of metal out of the way quickly so you can refine the small amount of material that is your edge with the water stones... I’d suggest a grinding wheel for removing the bulk of the metal out of the way, but this is not that much slower, affordable, and good enough to get you where you need to go. Also very forgiving when learning how to freehand sharpen, you can’t gouge the stone if you get your angle wrong. Feel free to go crazy. Use them to sharpen your lawnmower blade!

These are fine. I have the 600 and 1200 grits. Unlike a soft water stone, it isn’t possible to gouge the plate out of flatness, and is forgiving for a novice sharpener. I bought them to work on gouges and other tools with curved blades, because I am a novice myself. I also have a 3000 grit diamond plate from the same company. I don’t know that it is really necessary, but it definitely is not your final grit. These plates are great for reshaping and take the majority of your abuse. There are cheaper and more expensive ones out there, but 3x8” is preferable to the smaller plates when using a honing guide.
The multiple grits allow you to polish the bevel up through the grits faster than if you just had one finer stone. Here’s an example of this being demonstrated. It’s a better video than what I posted down below.
Water Stones
When I started out, this is what I bought, and it was all I ever used for my first 4 or 5 years of woodworking. 2 stones in one, the white stone can shape your bevel, and the yellow 8000 grit will refine it. Want to be the life of the party? Your friends will watch in amazement as you shave your arm hair with a plane blade fresh off a 8000 grit stone. Of course, the arm hair test isn’t particularly difficult, or even a good indication that you have attained sharpness nirvana. But it’s more than good enough for a jack plane.

In closing
I first started with just a crappy honing guide and a combination water stone and that was more than good enough to get started. I think with the above recommended set up, you can sharpen up just a little more efficiently. For under $300 you can sharpen a straight razor or a lawnmower blade in less time than it took to read this. More importantly, I don’t think you’ll really grow out of this set up, unless you're out there searching for Sharpening Shangri-La with 20,000 grit stones and handforged japanese steel alloys…. I use these for planes, chisels, spokeshaves, draw knives. You can scrape up tile with your beater chisel from home depot, and keep it razor sharp too.
Sharpening speed comes from practice, but once you’re faster, sharp hand tools open the door to speeding things up for you, and allow you to work more efficiently.